
New construction wiring is the systematic installation of electrical circuits in a newly built home, completed before drywall and finishes, to deliver safe, code-compliant power distribution throughout the structure. Electricians call this process “rough-in electrical,” and it covers everything from design and permitting to running cables through open framing and installing the main service panel. Understanding how new construction wiring works gives homeowners and builders the knowledge to make smart decisions about circuit planning, safety devices, and future-ready infrastructure before the walls close up for good.
What are the main stages of wiring a new home?
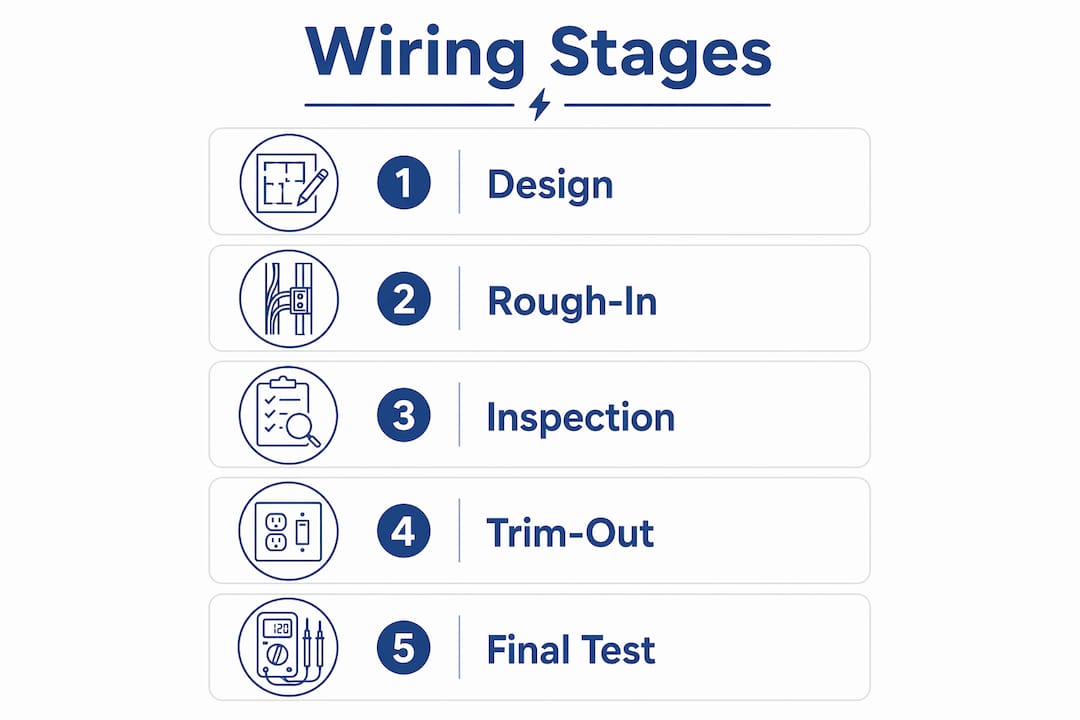
New construction electrical work follows a strict sequence. Each phase depends on the one before it, and skipping steps creates expensive problems later. The residential construction electrical phases break down into four distinct stages.
1. Design and permitting. Before a single cable is pulled, a licensed electrician works with the architect and builder to map every circuit, outlet location, panel size, and service entry point. The local building department issues an electrical permit based on these plans. No permit means no legal occupancy at the end of the project.

2. Rough-in installation. This is the core of how new construction wiring works. The rough-in stage occurs at weeks 6 through 12 of a standard build timeline, after framing and roofing are complete but before drywall goes up. Electricians drill through studs and joists, run cables or conduit, mount electrical boxes, and install the main panel and subpanels. Every wire gets its home while the framing is still open and accessible.
3. Rough-in inspection. A municipal inspector visits the site to verify that all wiring meets the National Electrical Code (NEC) and local amendments. Passing the rough-in inspection before drywall and insulation is a critical milestone that prevents costly tear-outs and delays. The inspector checks wire routing, box placement, panel wiring, and grounding. Only after approval can drywall proceed.
4. Trim-out (finish) phase. Once drywall is hung, taped, and painted, electricians return to install outlets, switches, light fixtures, cover plates, and breakers. The panel gets its final breakers labeled, and every circuit gets tested for continuity and proper operation.
5. Final inspection and testing. The building department conducts a final electrical inspection before issuing a certificate of occupancy. Electricians test every outlet, switch, and fixture to confirm the system performs as designed.
Pro Tip: Schedule your electrician for the rough-in phase as early as possible. Electrical work is one of the few trades that cannot be easily moved once drywall is in place, and delays here push back every finish trade behind it.
What types of wiring and safety devices does new construction use?
The materials used in residential wiring are not interchangeable. Each wire type, gauge, and safety device serves a specific function, and mismatching them creates fire and shock hazards.
Common wire types and gauges
The dominant cable in American residential construction is NM-B cable, sold under the brand name Romex by Southwire. NM-B stands for non-metallic sheathed cable with a 90°C rated insulation, and it contains copper conductors. Copper remains the standard because it conducts electricity efficiently and resists corrosion over decades of use.
Wire gauge must match circuit amperage: 14-gauge wire for 15-amp circuits, 12-gauge minimum for 20-amp circuits, and heavier gauges (10, 8, or 6) for large appliances like electric ranges, dryers, and HVAC equipment. Using undersized wire on an oversized breaker is one of the leading causes of residential electrical fires. The breaker protects the wire, not the appliance, so the two must be matched precisely.
Safety devices: GFCI and AFCI
Two classes of protection devices define modern residential wiring:
- GFCI (Ground Fault Circuit Interrupter): Required in all wet areas including bathrooms, kitchens, garages, outdoor outlets, and unfinished basements. GFCI devices rated at 30 mA trip within milliseconds when they detect current leaking to ground, preventing electrocution.
- AFCI (Arc Fault Circuit Interrupter): Required in living spaces, bedrooms, and most areas of the home under current NEC editions. AFCI breakers detect the signature of an electrical arc, which can ignite insulation or framing before a standard breaker ever trips.
- Grounding system: Every circuit connects to a grounding electrode system at the main panel, which routes fault current safely into the earth rather than through a person.
- Color coding: Wire color coding is a critical safety language. Black wires carry hot (live) current, white wires carry neutral current, and bare copper or green wires serve as the ground. Mixing these up during installation creates immediate shock and fire risk.
Circuit voltage types
| Circuit type | Voltage | Typical uses |
|---|---|---|
| Standard lighting and outlets | 120V | Lamps, TVs, small appliances |
| Kitchen and bath circuits | 120V, 20A | Countertop appliances, hair dryers |
| Large appliance circuits | 240V | Electric ranges, dryers, HVAC, EV chargers |
| Dedicated equipment circuits | 120V or 240V | Refrigerators, dishwashers, home offices |
Pro Tip: Never mix wire gauges on a single circuit. If a circuit starts with 12-gauge wire at the panel, every connection on that circuit must also use 12-gauge. Splicing in 14-gauge wire creates a weak point that the 20-amp breaker will not protect.
How to plan your electrical layout for safety and future needs
Planning the electrical layout is where homeowners have the most influence over how livable and adaptable their home will be for the next 30 years. The decisions made at the design phase cost almost nothing to change on paper and a great deal to change after drywall.
Homeowners consistently underestimate the number of outlets they need, which leads to reliance on extension cords and power strips that create both hazards and frustration. The NEC sets minimum outlet spacing at no more than 12 feet apart along any wall, but real-world use demands more. A home office, for example, needs outlets on every wall and ideally a dedicated 20-amp circuit for computers and monitors.
Key planning priorities for a new home electrical setup:
- Dedicated circuits for heavy loads: Refrigerators, dishwashers, washing machines, and microwave ovens each perform better and last longer on their own circuit. Sharing circuits with other loads causes nuisance tripping.
- EV charger readiness: Retrofitting from 200-amp to 400-amp service after construction is expensive due to utility coordination and panel work. Running conduit and a dedicated 240V circuit to the garage during rough-in costs a fraction of the retrofit price.
- Smart home and low-voltage wiring: Data conduits, Cat6 Ethernet runs, and coaxial cable are far easier to install through open framing than through finished walls. Even if you do not plan to use them immediately, the conduit costs almost nothing to add during rough-in.
- Panel organization and labeling: A well-labeled panel with logical circuit groupings saves hours of troubleshooting over the life of the home. Group circuits by zone (kitchen, master bedroom, garage) rather than by random installation order.
- Future-proofing with conduit: Adding dedicated circuits for EV chargers, home offices, and smart devices at the rough-in phase avoids retrofits that cost two to three times more than the original installation.
Pro Tip: Walk through your floor plan room by room and list every device you plan to plug in, including phone chargers, monitors, and kitchen appliances. Then add 25% more outlets than that count. You will use every one of them.
Common mistakes in new construction wiring and how to avoid them
Most wiring problems in new homes trace back to decisions made during planning, not installation. These are the errors that show up years later as tripped breakers, inadequate outlets, and expensive retrofits.
-
Too few outlets in the design phase. Minimum code compliance leaves most rooms underserved. Kitchens, home offices, and garages need outlet counts well above the NEC minimum to function without extension cords.
-
Mismatched wire gauge and breaker size. Installing 14-gauge wire on a 20-amp breaker is a code violation and a fire risk. Every circuit must pair the correct wire gauge with the correct breaker rating, verified during the rough-in inspection.
-
Skipping conduit for future EV and smart home circuits. New construction is a one-time opportunity. Pulling conduit through open framing takes minutes. Fishing wire through finished walls takes hours and costs significantly more.
-
Failing to secure permits and pass rough-in inspection. Drywalling over uninspected wiring is a serious code violation. It also voids homeowner’s insurance coverage for electrical fires in many policies and creates liability issues at resale.
-
Poor panel labeling. An unlabeled or poorly labeled panel is a safety hazard for any electrician or homeowner who works on the system later. Every breaker should be labeled clearly with the zone and circuit it serves before the final inspection.
-
Ignoring low-voltage and data wiring. Security cameras, smart thermostats, and whole-home audio systems all need structured wiring. Leaving this out of the rough-in plan means expensive and disruptive retrofits.
Pro Tip: Hire a licensed electrician for all rough-in work, even if you plan to handle minor finish tasks yourself. The rough-in inspection is the checkpoint that confirms your home’s wiring is safe. Failing it delays the entire construction schedule.
Key takeaways
New construction wiring requires precise staging, correctly sized materials, and proactive planning to deliver a safe, code-compliant, and future-ready electrical system.
| Point | Details |
|---|---|
| Rough-in timing is fixed | Electrical rough-in happens at weeks 6 through 12, after framing but before drywall. |
| Wire gauge must match breaker | Use 14-gauge for 15-amp and 12-gauge for 20-amp circuits to prevent fire risk. |
| GFCI and AFCI are required | Install GFCI in wet areas and AFCI breakers in living spaces per current NEC requirements. |
| Plan for future circuits now | Add EV charger conduit and smart home wiring during rough-in to avoid costly retrofits later. |
| Inspections protect everyone | Passing the rough-in inspection before drywall prevents expensive tear-outs and code violations. |
What I’ve learned after watching hundreds of new builds get wired
Most homeowners treat electrical planning as a checkbox, something to hand off to the electrician and forget about until the outlets are in the wrong place. That approach costs money every single time.
The homes I have seen done right share one trait: the owner or builder sat down with the electrician before a single permit was filed and mapped out not just where they live today, but where they expect to live in ten years. That conversation is where EV charger conduit gets added for almost nothing. It is where the home office gets a dedicated 20-amp circuit instead of sharing with the bedroom lighting. It is where the panel gets sized for 400-amp service instead of the minimum 200-amp, because the cost difference at rough-in is a fraction of what a utility upgrade costs later.
Electrical work runs 3 to 5 percent of total construction cost, roughly $15,000 to $25,000 for a 2,000-square-foot home. That number rises with smart home features and EV infrastructure, but it is still the smallest line item relative to its long-term impact on safety and convenience. Spending an extra $1,500 at rough-in to add circuits and conduit is a far better investment than spending $8,000 on a retrofit two years after move-in.
The other thing I would tell any builder or homeowner: do not skip the rough-in inspection because you are behind schedule. That inspection is the only independent verification that your home’s wiring is safe before it disappears behind drywall forever. Every shortcut taken there becomes someone else’s problem, usually yours.
— SEO
Let Gregbeverlyservices handle your new construction wiring

Greg Beverly Services brings over 40 years of electrical experience to new residential construction across the Grand Strand area. The team handles every phase of the residential wiring process, from design consultation and permit filing through rough-in installation, panel setup, and final trim-out. Gregbeverlyservices also specializes in EV charger installation and future-proof circuit planning, so your home is ready for the demands of the next decade. Contact Greg Beverly Services for a consultation and get your new build wired right the first time.
FAQ
What does the rough-in phase of new construction wiring involve?
The rough-in phase involves running cables through open wall framing, mounting electrical boxes, and installing the main service panel before drywall goes up. It typically occurs between weeks 6 and 12 of a standard home build.
What wire gauge is required for a 20-amp circuit?
A 20-amp circuit requires a minimum of 12-gauge copper wire. Using 14-gauge wire on a 20-amp breaker is a code violation and a fire hazard.
Where are GFCI outlets required in a new home?
GFCI protection is required in all wet areas, including bathrooms, kitchens, garages, outdoor outlets, and unfinished basements, per current National Electrical Code requirements.
How much does new construction electrical work cost?
Electrical work typically accounts for 3 to 5 percent of total construction costs. For a 2,000-square-foot home, that translates to roughly $15,000 to $25,000, with higher costs for smart home features and EV infrastructure.
Can I add an EV charger circuit after the home is built?
You can, but it costs significantly more than installing the conduit and dedicated 240V circuit during the rough-in phase. Upgrading electrical service after construction requires utility coordination and panel work that can run two to three times the original installation cost.